

MCP server support for AI agents is in Beta.
What you can do
Once an MCP server is connected to an agent, the agent can use its tools as part of any conversation. Common examples:- Notion — search docs, read pages, and create new pages from agent findings. See Get started with Notion MCP.
- Linear — file issues from anomalies the agent spots, comment on tickets, query project status. See Linear MCP docs.
- Confluence — search the knowledge base for context before answering, or publish summaries. See Getting started with the Atlassian Remote MCP Server.
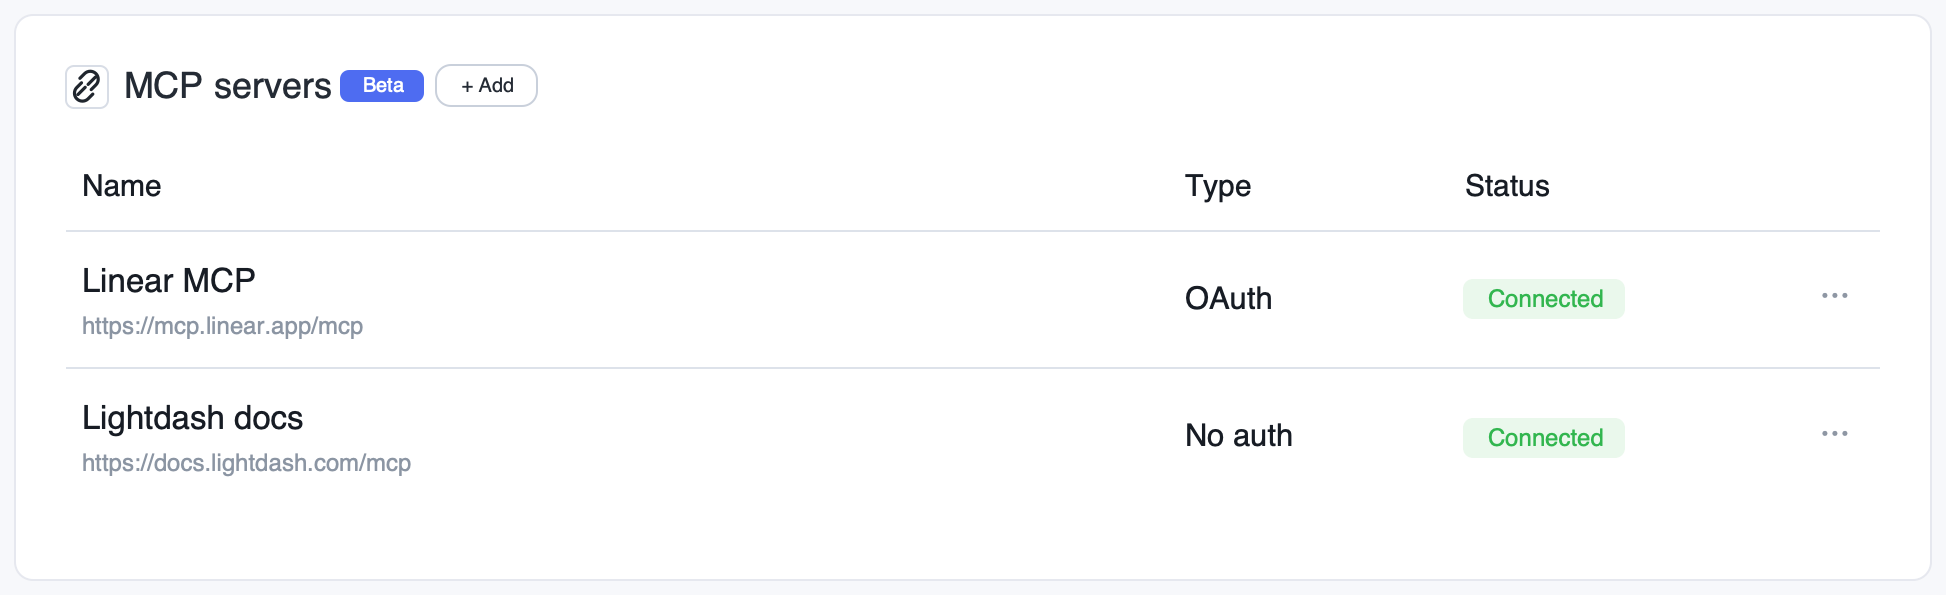
- Lightdash Docs — give agents access to the complete Lightdash documentation so they can answer questions about Lightdash concepts, configuration, and best practices. URL:
https://docs.lightdash.com/mcp, auth typeNone. See Lightdash Docs MCP. - Slack — search channels, threads, and messages so agents can pull team context into answers. Slack requires extra app setup — see Connect the Slack MCP server.
- GitHub — let the agent read the code behind your metrics. GitHub has a guided one-click connect flow — see Connect GitHub.
- Any other service that exposes a remote MCP server (Jira, internal tooling, etc.)
Need help setting up an MCP server? Reach out to us and we’ll help you get it wired up.
Add an MCP server
MCP servers are configured per project and can be attached to one or more agents in that project.1
Open AI agent settings
Go to Settings → AI agents → MCP servers for the project.
2
Add a new server
Click Add MCP server and provide:
- Name — a friendly label (e.g.
Notion,Linear) - URL — the remote MCP server endpoint (e.g.
https://mcp.notion.com/mcp) - Auth type —
None,Bearer token, orOAuth
3
Provide credentials
Depending on the auth type:
- Bearer token — paste the token. It is encrypted at rest.
-
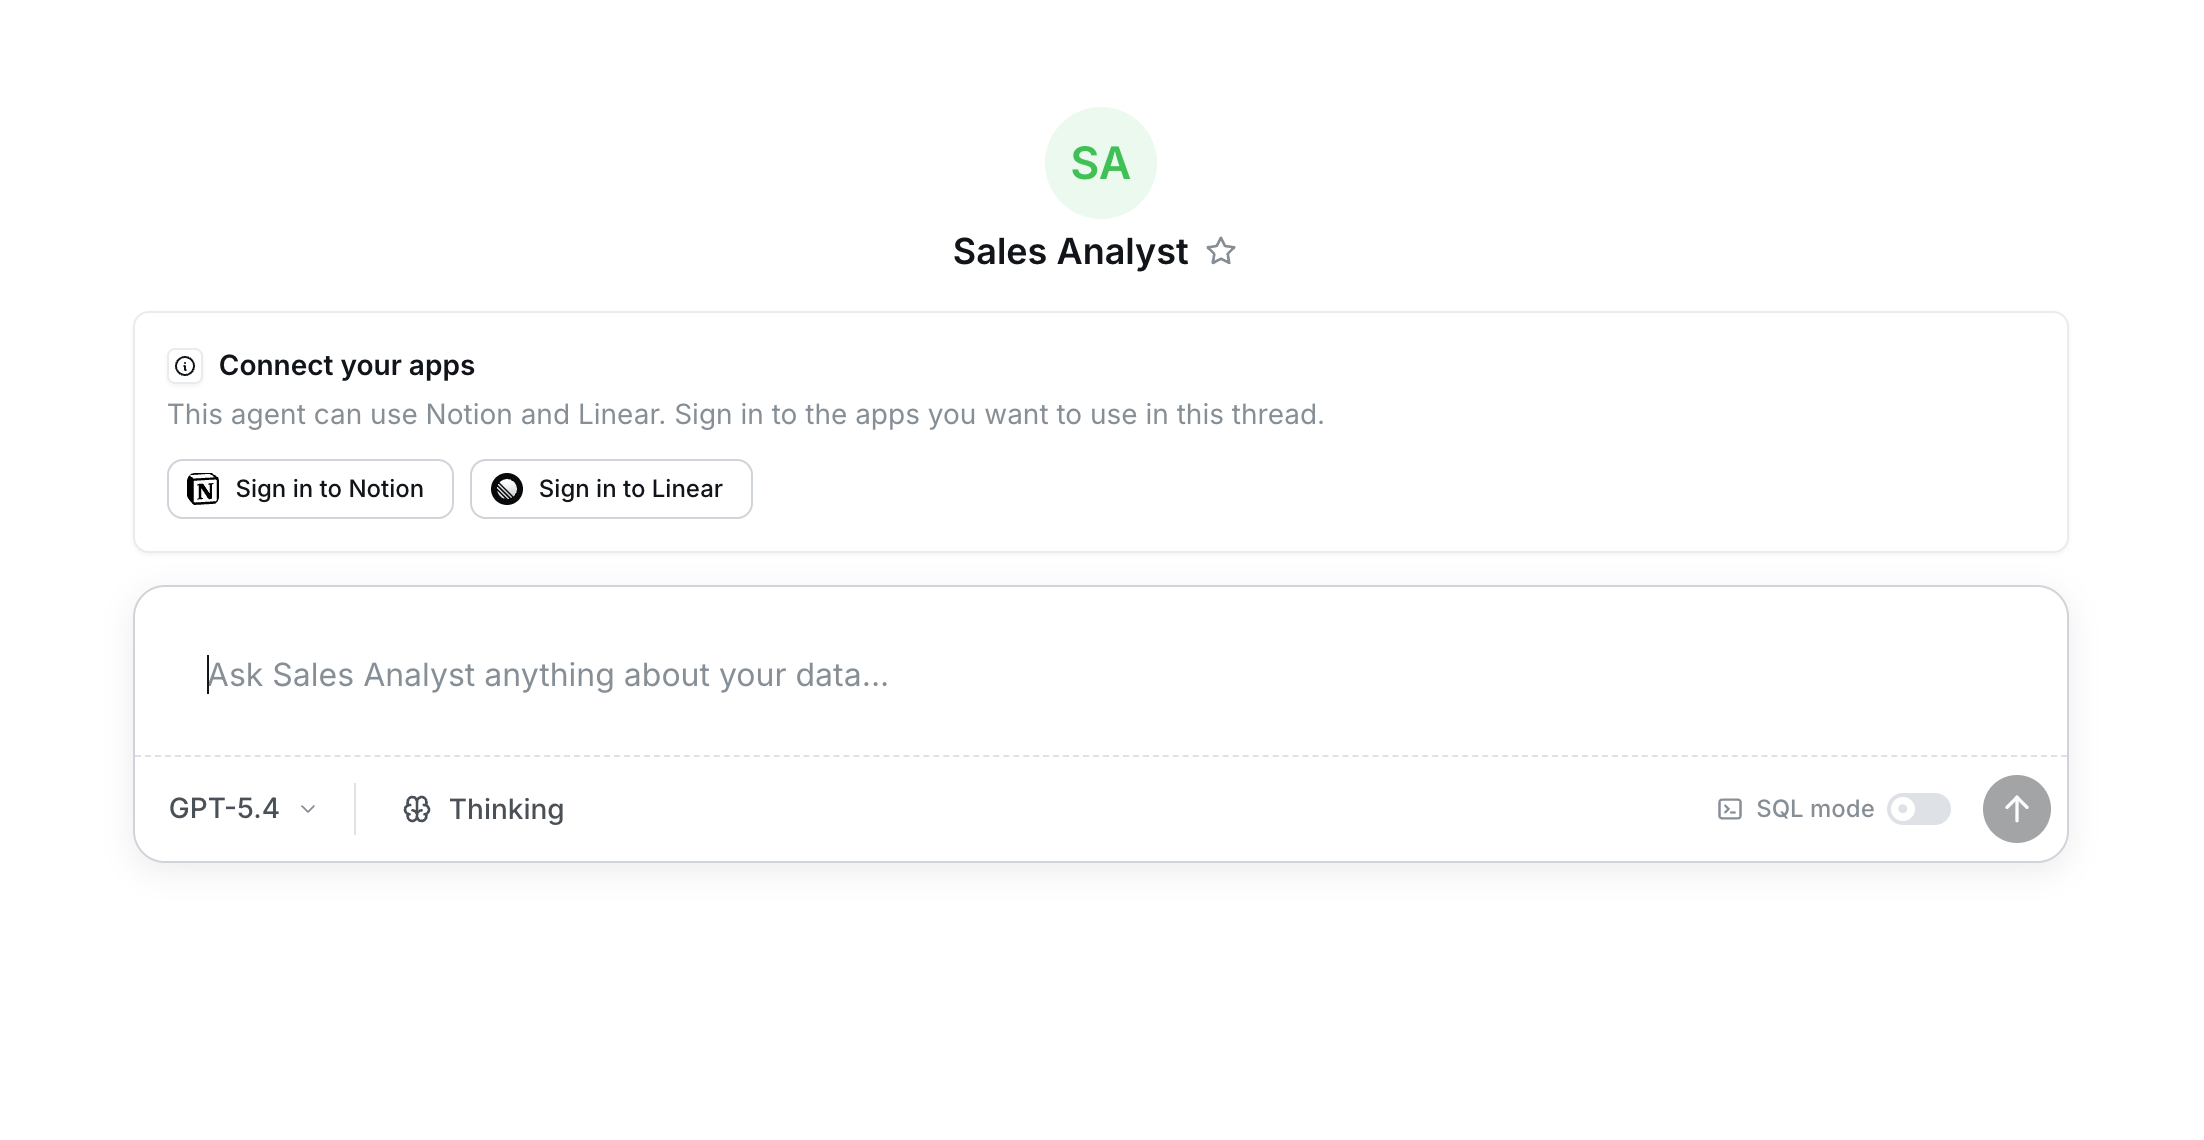
OAuth — every user clicks Connect under the MCP server to start the OAuth flow with their own account. If Allow shared OAuth credential is on, a manager can also click Connect shared account to set up a fallback credential. Lightdash handles token storage and refresh in both cases.
Under More options, you can also configure:
-
Client ID and Client secret (optional) — only needed if the MCP provider doesn’t support Dynamic Client Registration (DCR). To get them, go to the MCP provider and register a new OAuth client, provide the callback URL below as the redirect URI, and copy the client ID and client secret the provider gives you back into Lightdash. Leave both blank if the provider supports DCR — Lightdash will register a client automatically.
Callback URL:
https://<instance-name>.lightdash.cloud/api/v1/aiAgents/mcp/oauth/callback - Allow shared OAuth credential — turn this on if you want a manager to connect a single shared account that everyone can fall back to. Leave it off to require each user to connect their own account.
-
Client ID and Client secret (optional) — only needed if the MCP provider doesn’t support Dynamic Client Registration (DCR). To get them, go to the MCP provider and register a new OAuth client, provide the callback URL below as the redirect URI, and copy the client ID and client secret the provider gives you back into Lightdash. Leave both blank if the provider supports DCR — Lightdash will register a client automatically.
Callback URL:
- None — no credentials required.
4
Attach to an agent
Edit any agent in the project and select the MCP server under MCP servers. The agent will now have access to that server’s tools.
Connect GitHub
GitHub has a one-click Connect GitHub button in Settings → AI agents → MCP servers. Use it instead of adding the hosted GitHub MCP URL as a generic bearer-token server — the guided flow handles credentials for you and picks the most secure connection mode your organization has available.Connection modes
The Connect GitHub button behaves based on what’s available for your org:
- GitHub App installed — clicking Connect GitHub connects the server in one click using the app installation.
ai-mcp-github-paton and GitHub App not installed — clicking Connect GitHub opens a modal to paste a personal access token.- Neither available — clicking Connect GitHub shows a modal pointing an admin to install the Lightdash GitHub App from Organization settings → Integrations.
Storing long-lived GitHub personal access tokens as MCP credentials expands the blast radius of an application compromise into your source repositories. We recommend the GitHub App for every org that can install it. When
ai-mcp-github-pat is off, any previously stored PATs are also ignored at runtime.Preview projects never accept GitHub PATs, even if the flag is enabled on the parent organization.
Connect the Slack MCP server
Slack’s hosted MCP server (https://mcp.slack.com/mcp) needs more setup than most providers because Slack does not support Dynamic Client Registration. You must bring your own OAuth client, and Slack only accepts clients backed by a registered Slack app that is either published in the Slack Marketplace or an internal app in your workspace — unlisted apps are rejected. The steps below walk through creating an internal Slack app and connecting it to Lightdash.
1
Create a Slack app
Go to api.slack.com/apps, click Create New App → From scratch, give it a name (e.g.
Lightdash AI), and pick your workspace.2
Add the Lightdash callback as a redirect URL
In the app settings, go to OAuth & Permissions → Redirect URLs, add
https://<instance-name>.lightdash.cloud/api/v1/aiAgents/mcp/oauth/callback (replace the host with your own URL if self-hosting), and click Save URLs. Slack matches the URI exactly — if this step is missed you’ll see redirect_uri did not match any configured URIs during sign-in.3
Enable Slack MCP server access for the app
On the app’s Agents & AI Apps page (
https://api.slack.com/apps/<app-id>/app-assistant), enable access to the Slack MCP server. If this is skipped, sign-in completes but the connection then fails with App is not enabled for Slack MCP server access.4
Copy the app's client credentials
Go to Basic Information → App Credentials and copy the Client ID and Client Secret.
5
Create the MCP server in Lightdash
Follow Add an MCP server with URL
https://mcp.slack.com/mcp and auth type OAuth, then open More options and paste the Client ID and Client secret from the previous step. Click Create and connect and sign in with your Slack account. If the client ID and secret are missing, the connection fails with Incompatible auth server: does not support dynamic client registration.Self-hosting? If you set up a Slack app for the Slack integration, you can reuse it here instead of creating a new one — it’s already an internal app in your workspace. Skip step 1 and apply steps 2–4 to that app.
How credentials work
- MCP servers live at the project level and can be reused across any number of agents in that project — configure once, attach anywhere.
- Bearer token servers always use one shared token for everyone chatting with the agent. Actions are attributed to whoever owns that token.
- OAuth servers support two credential scopes — personal and shared — and you choose which ones to allow per server.
OAuth credential scopes
Bearer-token servers do not support personal credentials — every user shares the same token.
Choose which tools are exposed to the agent
Each MCP server exposes a set of tools, and you decide which ones the agent can use. Open an MCP server in your project settings and use Tool permissions to enable just the tools that fit the agent’s job.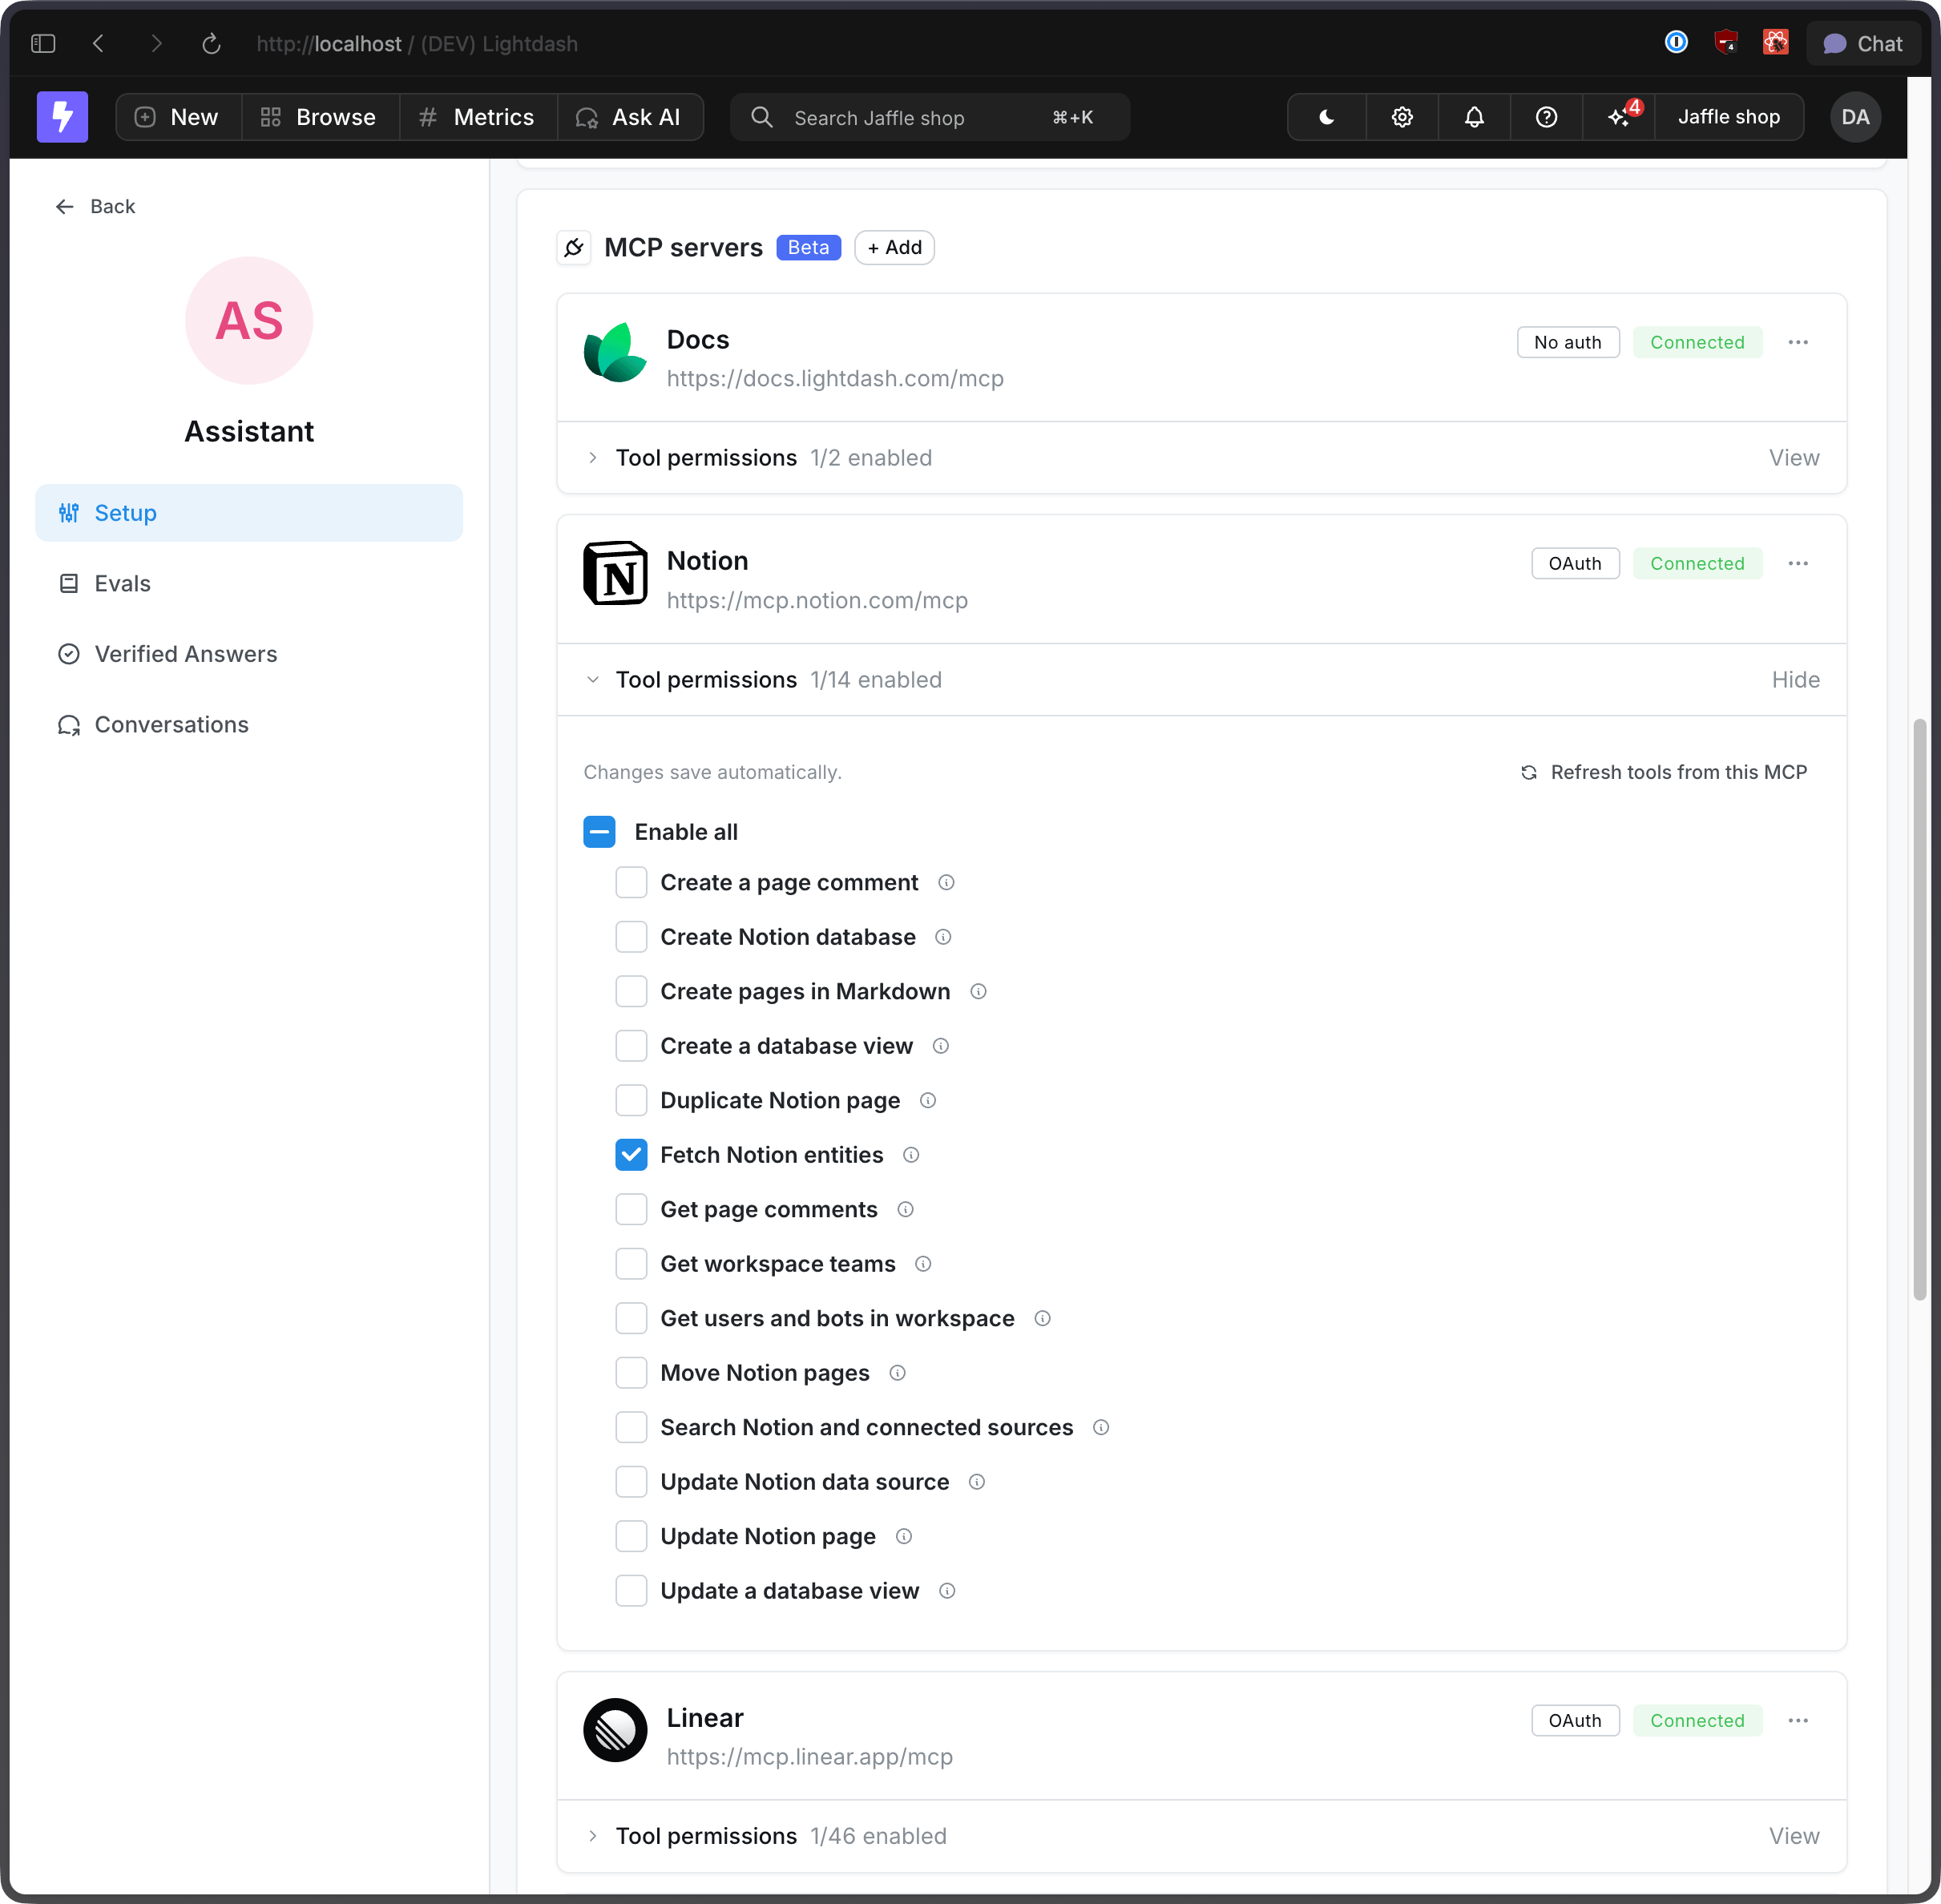
- Stick to read-only when that’s all you need. Enable tools like
searchorfetchand leave write tools (create, update, delete) off so the agent can look things up without changing anything. - Match tools to the agent’s role. A support insights agent probably needs to read Notion pages, not move or delete them.
- Open things up gradually. Start with a small set of tools and add more as you see how the agent uses them.
Pick the right MCPs and tools for each agent
Every enabled tool — its name, description, and parameter schema — is included in the agent’s context on every turn. That context is shared with instructions, conversation history, and the model’s own reasoning, so a long menu of tools leaves less room for the things that make answers good. The fix is simple: be intentional about what you turn on.- Build agents around a job. A focused product analytics agent or RevOps agent usually beats one general-purpose agent with every MCP attached.
- Attach the MCPs that agent actually uses. If a product analytics agent never touches Confluence, don’t connect it.
- Enable the specific tools for the task. Within an MCP, turn on the handful of tools the agent needs and leave the rest off.
Example agents
Product analytics agent + Linear“Daily active users dropped 12% yesterday. File a Linear issue for the growth team with the breakdown by platform.”The agent queries your data, summarizes the drop, and creates a Linear ticket with the chart and breakdown attached. Support insights agent + Notion
“Summarize this week’s top support themes and add it to our weekly review page in Notion.”The agent pulls the data from your warehouse, generates the summary, and appends it to the right Notion page. RevOps agent + Confluence
“Before answering questions about pipeline definitions, check our Confluence runbook.”The agent searches Confluence for the canonical definition, then answers using both the doc and your data.
Self-hosted: backend networking
MCP connections are validated and tested server-side from the Lightdash backend, not from your browser. When you add an MCP server, the backend performs a DNS lookup of the endpoint host (as an SSRF protection check) and then makes an actual HTTPS request to the MCP URL to test the connection. The same applies during every agent conversation that uses MCP tools. This means the Lightdash backend container must be able to reach every MCP endpoint you connect. On self-hosted deployments with restricted network egress, connection tests can fail even though the URL works fine from your laptop. Three common failures:
To resolve these, work with whoever owns your infrastructure to:
- Internal MCP endpoints — configure DNS resolution and network routing from the Lightdash backend pod to the internal host, and set
AI_AGENT_MCP_ALLOW_PRIVATE_ADDRESSES=trueif the host resolves to a private IP. - External MCP endpoints (e.g.
https://docs.lightdash.com/mcp) — allow outbound HTTPS (port 443) egress from the backend pod to the public internet.
Security
- All credentials (bearer tokens and OAuth tokens) are encrypted at rest.
- OAuth refresh is handled automatically; expired tokens trigger a re-authorization prompt.
- MCP servers are configured at the project level and only available to agents in that project.
- Personal OAuth credentials are scoped to the user who connected them — no other user can use, view, or impersonate them through the agent.
- Only project managers can enable shared OAuth credentials and connect or disconnect the shared account; any project member who can view the project can connect or disconnect their own personal credential.
Monitoring MCP usage
Every tool call made through a connected MCP server — who called it, with what arguments, success or failure, and the calling client’s identity — is logged for admins. See Agent visibility to review it.Related
- Getting started with AI agents
- Data access control
- Agent visibility — admin visibility into MCP tool calls
- Lightdash MCP server — exposing Lightdash itself as an MCP server to other tools